How to lift and divide plants this season
5 Minute Read
In this article, we will guide you through the steps of lifting and dividing plants in order to maintain a flourishing and beautiful garden.How to lift and divide plants
In the world of gardening, there comes a time when our beloved plants outgrow their spaces and start to show signs of overcrowding. When this happens, it's essential to consider lifting and dividing them.The process of lifting and dividing refreshes your garden and ensures the health and vitality of your plants in the long run. Let's get started.
Why lift and divide plants?
- Promotes growth: Over time, plants can become overcrowded, limiting airflow, sunlight, and nutrients. Lifting and dividing them allows each plant ample space to grow, resulting in healthier and more vigorous plants.
- Disease prevention: Crowded plants are more susceptible to diseases and pests. Dividing them creates airflow and minimises the risk of infections and infestations.
- Rejuvenation: Lifting and dividing plants can extend their lifespan and promote new growth - This is particularly beneficial for perennials that may become less productive over time.
- Garden aesthetics: Dividing plants rejuvenates your garden's overall appearance. It helps maintain the desired spacing and structure while preventing the garden from looking overgrown and unkempt.
When to lift and divide plants?
The best time to lift and divide your plants depends on their type. Ideally, you should perform this task during the following times:- In spring, when perennial plants emerge from their winter dormancy.
- In late summer and autumn, as it allows many perennials to establish roots before winter.
Tools and materials
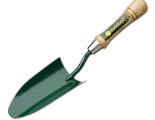
Before you begin, gather the following tools and materials:Step 1: Preparation
Start by watering plants the day before lifting and dividing them, as it will make the soil easier to work with and minimises stress on the plants.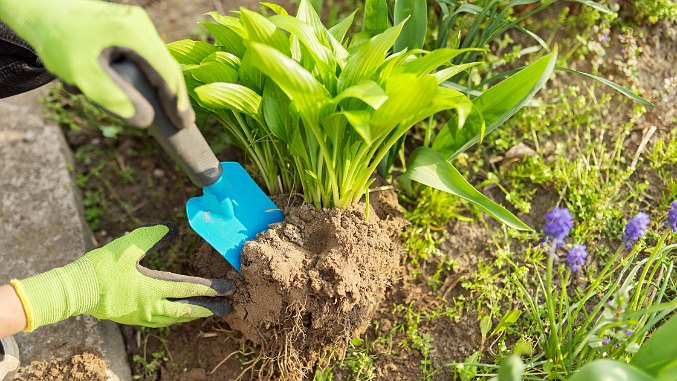
Step 2: Digging
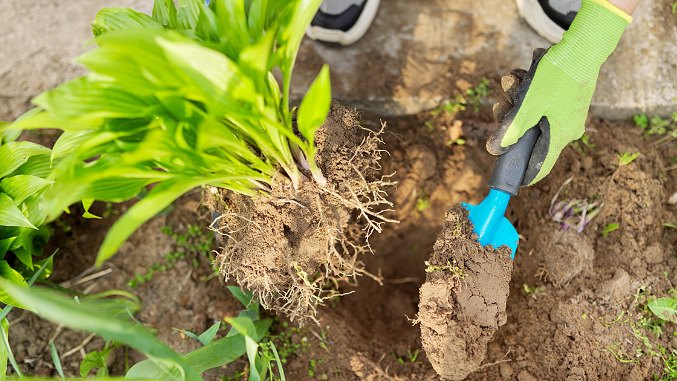
Using a trowel or hand fork, dig around the perimeter of the plant, keeping a comfortable distance from the base. Create a trench around the plant, and gently pry it out of the ground, lifting it carefully.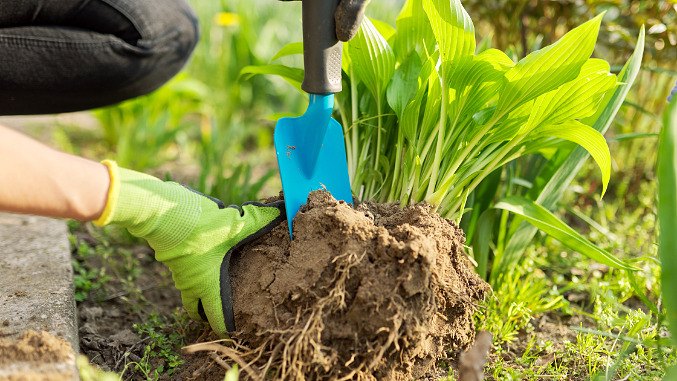
Step 3: Division
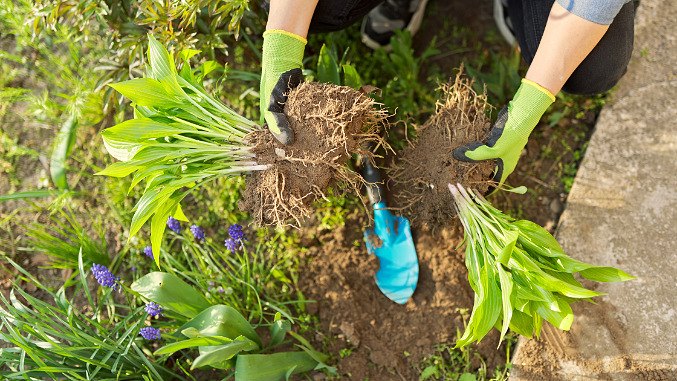
Once the plant is out of the ground, examine the root system. You can divide it in several ways, depending on the plant's characteristics:a. By hand: For some plants, you can gently pull the clumps apart by hand, ensuring that each division has roots and shoots.
b. Using tools: For tougher or woody plants, use secateurs or hand tools to cut the clumps into smaller sections. Make sure each division has both roots and foliage.
Step 4: Replanting
Dig a hole for each new plant, making it large enough to accommodate the roots without bending or crowding. Add the compost for added fertility and place the divided plants into the holes, making sure they are at the same depth as they were in the original location.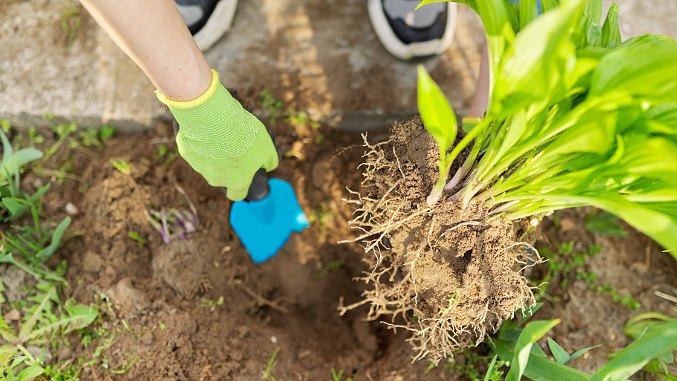
Step 5: Water and mulch
Water the newly divided plants generously to help them settle in their new homes, and apply a layer of mulch to conserve moisture and control weeds.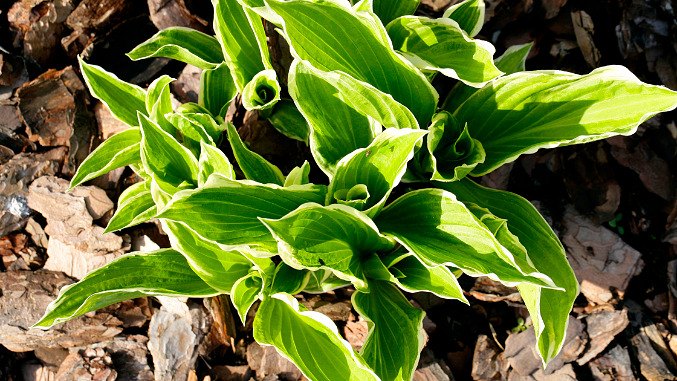
Lifting and dividing plants may sound like a daunting task, but it's a practical and rewarding part of gardening. With a little time and effort, you can enhance your garden's health and appearance, allowing your plants to thrive for years to come. So, roll up your sleeves and get out there - your garden will appreciate the effort!
Related products
Comments (0)
Why not be the first to send us your thoughts?

