Garden Gold: How to Start Your Own Compost Heap at Home
15 Minute Read
Compost is such a valuable addition to your garden, not only is it bursting with nutrients to help with lawn & plant growth but it also aids depleted soil, giving it a brand new lease of life. Managing a compost heap or bin is easy, excellent for the environment and also helps to reduce unnecessary landfill waste.How to start your own compost heap at home
Spring and autumn is a great time to start and keep on top of your compost heap as you'll be busy in the garden, all of the leftover garden material can be used in your heap or bin. It's a win-win for everyone!
We've put together some information to help you start your own compost heap or bin, take a look at our tips below.
We've put together some information to help you start your own compost heap or bin, take a look at our tips below.
Choosing a composter
There are a few options when it comes to composters, naturally, the space you have available
will be your deciding factor, below we have some suggestions depending on your outdoor access and what you'll be composting.
Urban gardeners:
Worm farms or bins (vermicomposting) or smaller bins are a great choice as they don't take up valuable space. These specific composters are best used with food waste and some garden waste.
Suburban gardeners:
Tall enclosed bins or DIY containers*. Like the above these options are also suitable for food and garden waste.
* To make a DIY bin, simply grab a decent size container (a kerbside glass recycling bin or plastic storage box) drill a few holes into the base and a couple on the long sides. This aids with aeration, drainage and allows critters access so they can get to work!
Rural gardeners:
Open piles or bins, depending on preference. You'll have a bit more space to play with so find which option works best for you.
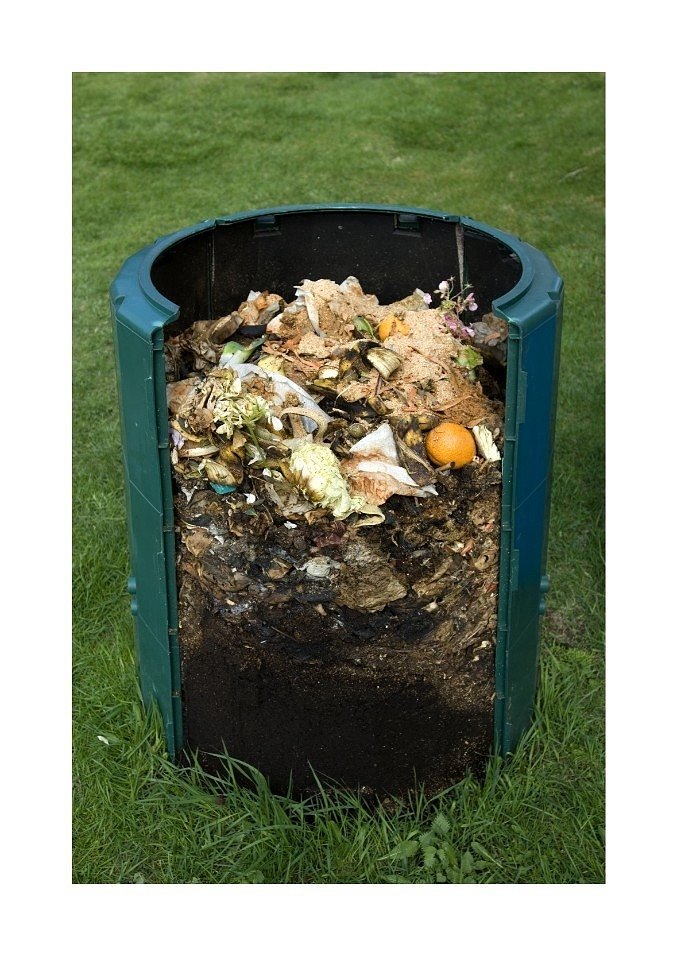
How to start composting
If making a heap, start with plain old earth, you can dig the ground to force worms and manually add to your bin. You want to help those beneficial micro-organisms get to work as quickly as possible - alternatively you can purchase worms, which can be added to your bin.
Layer your food or garden waste into your chosen composter, below you will find a list of Green & Brown materials (sometimes known as wet and dry materials) to add to your compost heap or bin. Make sure you have an even mix of materials. Use dry material, such as sticks, hay, dry grass, etc, as a base.
* If you have any, you could use manure at this stage as it contains Nitrogen; otherwise you could use grass or leaves to help kick start the activation process.
If you're using a heap or have made your own DIY compost container, make sure it's covered. It doesn't have to be anything fancy; you could use anything left over in the shed, such as tarp, plastic, sheets of wood, anything that will protect and cover your compost. Make sure your heap or bin stays moist but not wet. You want some moisture but don't let it get really soggy. It's not nice, trust us...
Keep an eye on it and turn your compost once a month (or more often to speed the process up). Turning is essential for aerating your compost. There's more information on turning to come later.
What to add to a compost bin or heap?
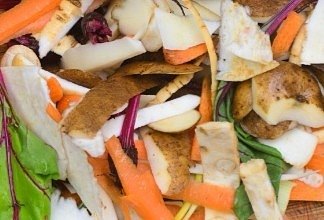
What should I add?
You want to get the right balance of Green & Brown materials. Brown items contain Carbon while Green items contain Nitrogen. For those friendly micro-organisms & bacteria to work their best, you'll want a 25-50% green materials ratio.Green materials include: vegetable scraps, potato peels, lettuce, avocado and banana skins, teabags (only if made from natural materials and not plastic), coffee grounds, egg shells, stale bread, spoiled pasta sauces or paste, popcorn kernels, grass cuttings, leaves, stale beer or wine, used paper napkins, paper towels.
Brown materials include: wood-shavings and sawdust, black & white newspaper, unwaxed cardboard, egg boxes, toilet roll tubes (cut up), pencil shavings, stale dog & cat food biscuits, old 100% cotton clothing (shredded), cotton balls, used matches and even hair!

What shouldn't I add?
Meat & Fish (including dairy and oil): You'll want to avoid adding fish or meat scraps to your compost bin, the above mentioned items can attracts pests who will destroy your compost bin or heap to eat the scraps, the smell isn't pleasant either!Dog & Cat poo: While herbivorous animal droppings are a great addition to your compost bin or heap, we don't recommend adding any sort of carnivorous waste as it can contain harmful parasites which are then spread all over your future food crops...
* If you still want to compost your carnivorous pets' poo, make sure you do this safely and away from your regular bin or heap to avoid cross contamination.
Citrus or Onions: the chemicals and acids in both citrus based materials and onions can be harmful to the beneficial micro-organisms and worms working away. They can also take a long time to break down, so you'll have to wait much longer before using your compost!
Taking care of your compost bin or heap
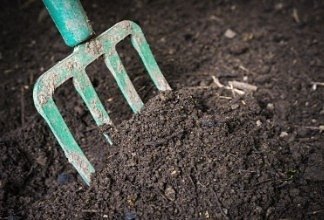
Turning compost
A once a month you should 'turn' the compost; this allows the compost pile to aerate. You can speed up the break down process by turning every two weeks. *For those specifically using worm bins, turning isn't necessary as the worms do the work for you!
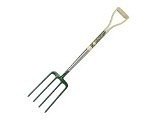
To turn your heap, simply use a pitch fork or spade and turn over your compost, get really stuck in as this helps with aeration and stops pockets forming.
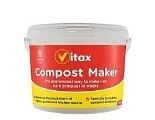
* To speed up the process further, you can add an accelerator such as Vitax Compost Maker. The effectiveness depends on the time of year and what materials you have added to your bin or heap.
SHOP VITAX COMPOST MAKER
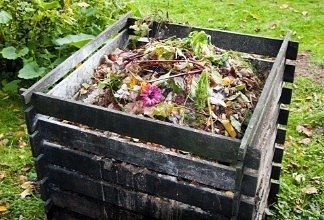
Where to place your container
It's important to not allow your compost site to sit in extreme temperatures or moisture zones. The micro-organisms, bacteria and creatures that work to convert the waste into compost work well in shaded areas. You'll want to crate a delicate balance of retained heat and moisture for the best compost.Don't forget, worms are waste eating machines and are your best friends when it comes to composting - they will spend their lives eating through your lovely waste material and convert it into compost for use later on.
Make sure your bin or heap is in a well drained spot to help to encourage the worms to start work and to keep doing what they do best, and to stop your heap getting too soggy.
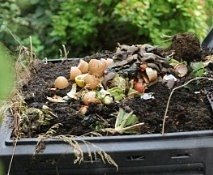
Is it ready yet?
Once the waste in your compost heap or bin starts to look and smell like earth, it's ready to be used!If it's not ready, you could turn it more often or alternatively, use Vitax Compost Maker.
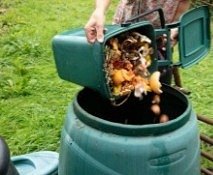
Unpleasant smells?
Firstly, check there are no meat or fish scraps in your bin and when you add a new layer of waste materials, add a layer of grass or mulch as this will absorb smells.Double check isn't too wet either as this could cause smells.
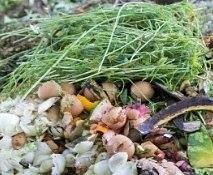
Insect, flies and pests?
Flies and pests are attracted to decomposing matter, make sure you keep your bin or heap covered. This will also stop it from becoming soggy and soupy.Helpful products
Comments (0)
Why not be the first to send us your thoughts?
Leave A Comment
Most popular articles
1
Plastic plant pots dimensions and uses2
Peat vs Peat Free - Choosing the right Potting Compost3
How to Grow Watercress at home in plant pots4
January Jobs5
Our guide to seed sowing compost

